Deploy a Flask App to Heroku
Deploy a Flask app with an encrypted .env.vault file to Heroku.
Find a complete code example on GitHub for this guide.
Initial setup
pip install --upgrade flask gunicorn
Create an index.py file with the web server code.
index.py
import os
from flask import Flask

app = Flask(__name__)

@app.route('/')
def hello():
  hello = os.getenv("HELLO")
  return f"Hello {hello}"
Create your wsgi.py file.
wsgi.py
from index import app

if __name__ == '__main__':
  app.run(debug=False)
Add a Procfile to run your app on Heroku.
Procfile
web: gunicorn --workers 4 --bind 0.0.0.0:${PORT} wsgi:app
Create runtime.txt.
runtime.txt
python-3.9.13
Freeze your requirements.txt.
pip freeze > requirements.txt
Set up your .gitignore file.
.gitignore
.DS_Store
.env
.flaskenv
*.pyc
*.pyo
env/
venv/
.venv/
env*
dist/
build/
Commit that to code and push it to Heroku.
heroku create
git push heroku

Once deployed, your app will say 'Hello None' as it doesn't have a way to access the environment variable yet. Let's do that next.
Install python-dotenv-vault
Install python-dotenv-vault.
pip install --upgrade python-dotenv-vault
Create a .env file in the root of your project.
.env
# .env
HELLO="World"
As early as possible in your application, import and configure dotenv-vault.
index.py
from dotenv_vault import load_dotenv
load_dotenv()

import os
from flask import Flask
...
Try running it locally.
gunicorn --workers 4 --bind 0.0.0.0:3000 wsgi:app
[2023-07-31 10:20:35 -0700] [49163] [INFO] Starting gunicorn 20.1.0
[2023-07-31 10:20:35 -0700] [49163] [INFO] Listening at: http://0.0.0.0:3001 (49163)
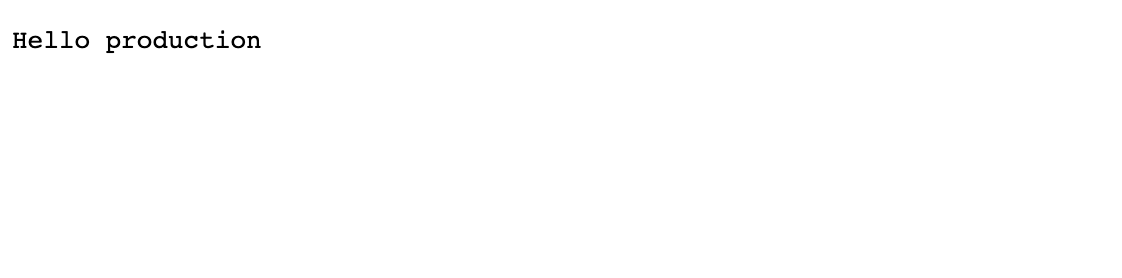
It should say Hello World.

Great! os.environ now has the keys and values you defined in your .env file. That covers local development. Let's solve for production next.
Build .env.vault
Push your latest .env file changes and edit your production secrets. Learn more about syncing
npx dotenv-vault@latest push
npx dotenv-vault@latest open production
Use the UI to configure those secrets per environment.
Then build your encrypted .env.vault file.
npx dotenv-vault@latest build
Its contents should look something like this.
.env.vault
#/-------------------.env.vault---------------------/
#/         cloud-agnostic vaulting standard         /
#/   [how it works](https://dotenv.org/env-vault)   /
#/--------------------------------------------------/

# development
DOTENV_VAULT_DEVELOPMENT="/HqNgQWsf6Oh6XB9pI/CGkdgCe6d4/vWZHgP50RRoDTzkzPQk/xOaQs="
DOTENV_VAULT_DEVELOPMENT_VERSION=2

# production
DOTENV_VAULT_PRODUCTION="x26PuIKQ/xZ5eKrYomKngM+dO/9v1vxhwslE/zjHdg3l+H6q6PheB5GVDVIbZg=="
DOTENV_VAULT_PRODUCTION_VERSION=2
Set DOTENV_KEY
Fetch your production DOTENV_KEY.
npx dotenv-vault@latest keys production
# outputs: dotenv://:[email protected]/vault/.env.vault?environment=production
Set DOTENV_KEY on Heroku using the CLI.
heroku config:set DOTENV_KEY='dotenv://:key_1234…@dotenv.org/vault/.env.vault?environment=production'
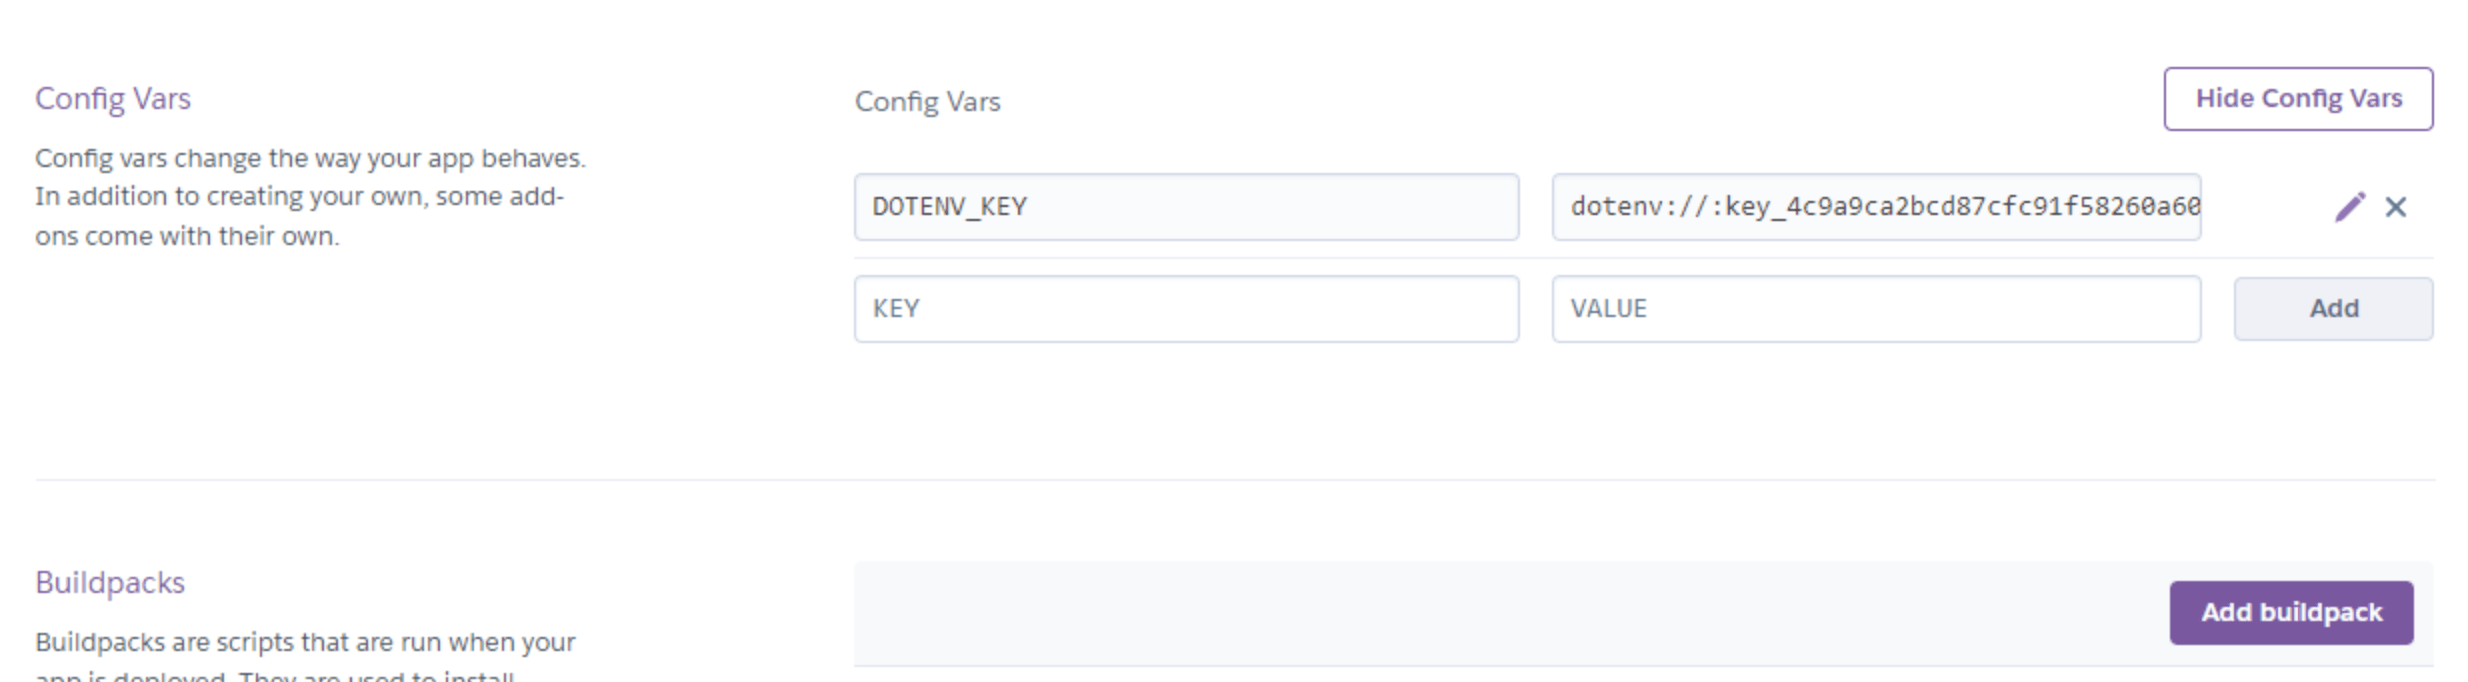
Or use Heroku's UI.
Deploy
Commit those changes safely to code and deploy.
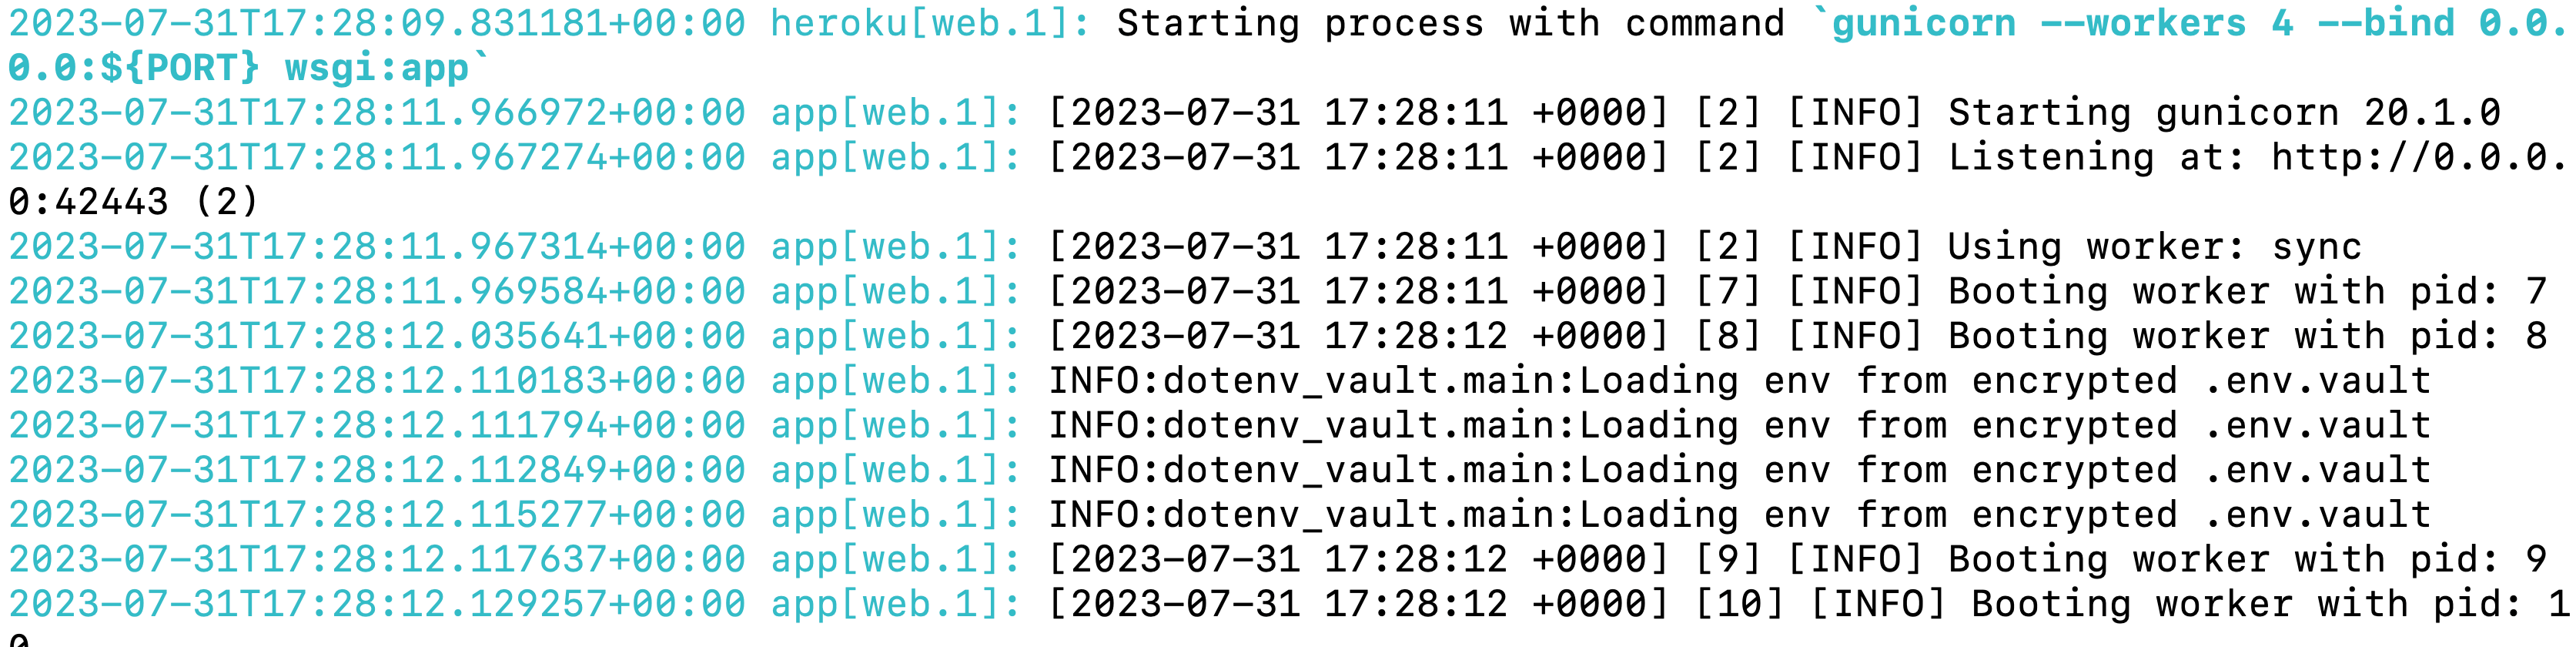
That's it! On deploy, your .env.vault file will be decrypted and its production secrets injected as environment variables‚ just in time.
You'll know things worked correctly when you see Loading env from encrypted .env.vault in your logs. If a DOTENV_KEY is not set (for example when developing on your local machine) it will fall back to standard dotenv functionality.
You succesfully used the new .env.vault standard to encrypt and deploy your secrets. This is much safer than scattering your secrets across multiple third-party platforms and tools. Whenever you need to add or change a secret, just rebuild your .env.vault file and redeploy.