dotenv-vault
Quickstart ⚡️
Sync, manage, and deploy your secrets the dotenv-vault way using this quickstart guide.
Initial setup
Install the necessary libraries for your application in the language of your choice.
npm install dotenv --save
Write the application code.
// index.js
require('dotenv').config()
const PORT = process.env.PORT || 3000
const http = require('http')
const server = http.createServer((req, res) => {
  res.statusCode = 200
  res.setHeader('Content-Type', 'text/plain')
  res.end(`Hello ${process.env.HELLO}`)
})

server.listen(PORT, () => {
  console.log(`Server running on port:${PORT}/`)
})
Create your .env file.
.env
# .env
HELLO="World"
Run your application.
node index.js
# visit http://localhost:3000
It worked if you see "Hello World".

Next, sync your .env file.
Sync
Push and pull changes to your .env file. Begin by creating your project's env vault and authenticating against it.
npx dotenv-vault@latest new
npx dotenv-vault@latest login
Push and pull your .env file securely.
npx dotenv-vault@latest push
npx dotenv-vault@latest pull
That's it! You synced our .env file. Next, configure your production secrets.
Manage
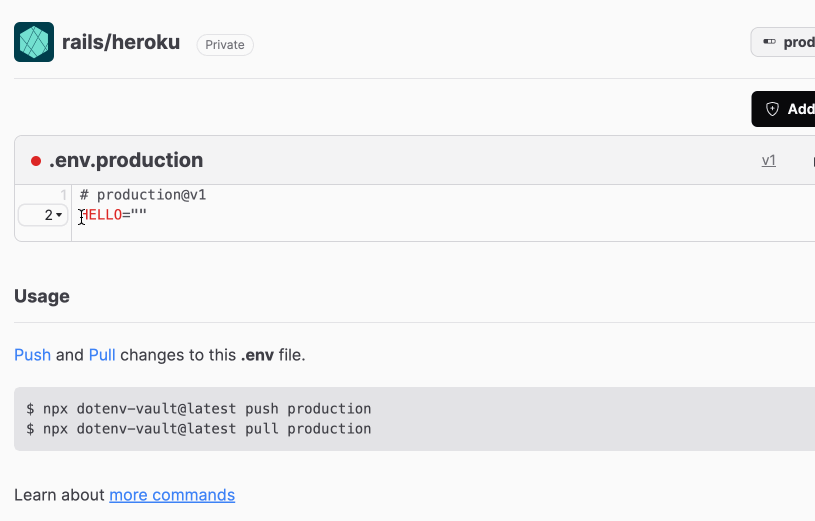
Open the production environment to edit the production HELLO value.
npx dotenv-vault@latest open production
Edit the HELLO value so that your production secrets will render as Hello production.
Looking good. Next, deploy your production secrets using your encrypted .env.vault file.
Deploy
Begin by building your project's encrypted .env.vault file. It securely encrypts your secrets in a cloud-agnostic payload.
npx dotenv-vault@latest build
Commit that safely to code.
git add .env.vault
git commit -am "Build encrypted .env.vault file for deploy"
Yes it safe AND recommended you commit the .env.vault file to code. It contains AES-256 GCM encrypted ciphers of your environment secrets - that are decrypted just-in-time using an environment DOTENV_KEY.
Fetch your production decryption key - the DOTENV_KEY - to decrypt your .env.vault file.
npx dotenv-vault@latest keys production
This will output your production DOTENV_KEY. Use that DOTENV_KEY to run your application in production mode.
DOTENV_KEY='dotenv://:[email protected]/vault/.env.vault?environment=production' node index.js
# visit http://localhost:3000

You will know it is working if you see the log message Loading env from encrypted .env.vault.
$ hello-world: DOTENV_KEY='dotenv://:[email protected]/vault/.env.vault?environment=production' node index.js
[[email protected]][INFO] Loading env from encrypted .env.vault
Example app listening on port 3000
That's it! The DOTENV_KEY decrypts the production contents of .env.vault and injects its secrets just-in-time to your running process.
Conclusion
Congrats! You now understand how .env.vault works. This is much safer than syncing your secrets to third-parties where they could leak. CircleiCi had a secrets breach not long ago. .env.vault protects you from breaches like that. An attacker would have to get their hands on both your DOTENV_KEY AND your codebase. That is much more difficult.
In addition, you now have a single source of truth that is easy to manage. Make a change in the UI, run the build command, and redeploy. Spend less time juggling secrets and more time coding.
All that's left to do is set your DOTENV_KEY on your production server and deploy your code.
For example on heroku it is as easy as:
$ heroku config:set DOTENV_KEY='dotenv://:[email protected]/vault/.env.vault?environment=production'
FAQ
What happens if DOTENV_KEY is not set?
It gracefully falls back to loading from your .env file. This is the default for development so that you can focus on editing your .env file and save the build command until you are ready to deploy those environment variables changes.
Should I commit my .env file?
No. We strongly recommend against committing your .env file to version control. It should only include environment-specific values such as database passwords or API keys. Your production database should have a different password than your development database.
Should I commit my .env.vault file?
Yes. It is safe and recommended to do so. It contains your encrypted envs, and your vault identifier.
Can I share the DOTENV_KEY?
No. It is the key that unlocks your encrypted environment variables. Be very careful who you share this key with. Do not let it leak.